
In questo articolo, esploreremo una ricetta deliziosa e facile da preparare.
Homemade Red Velvet Cake Recipe
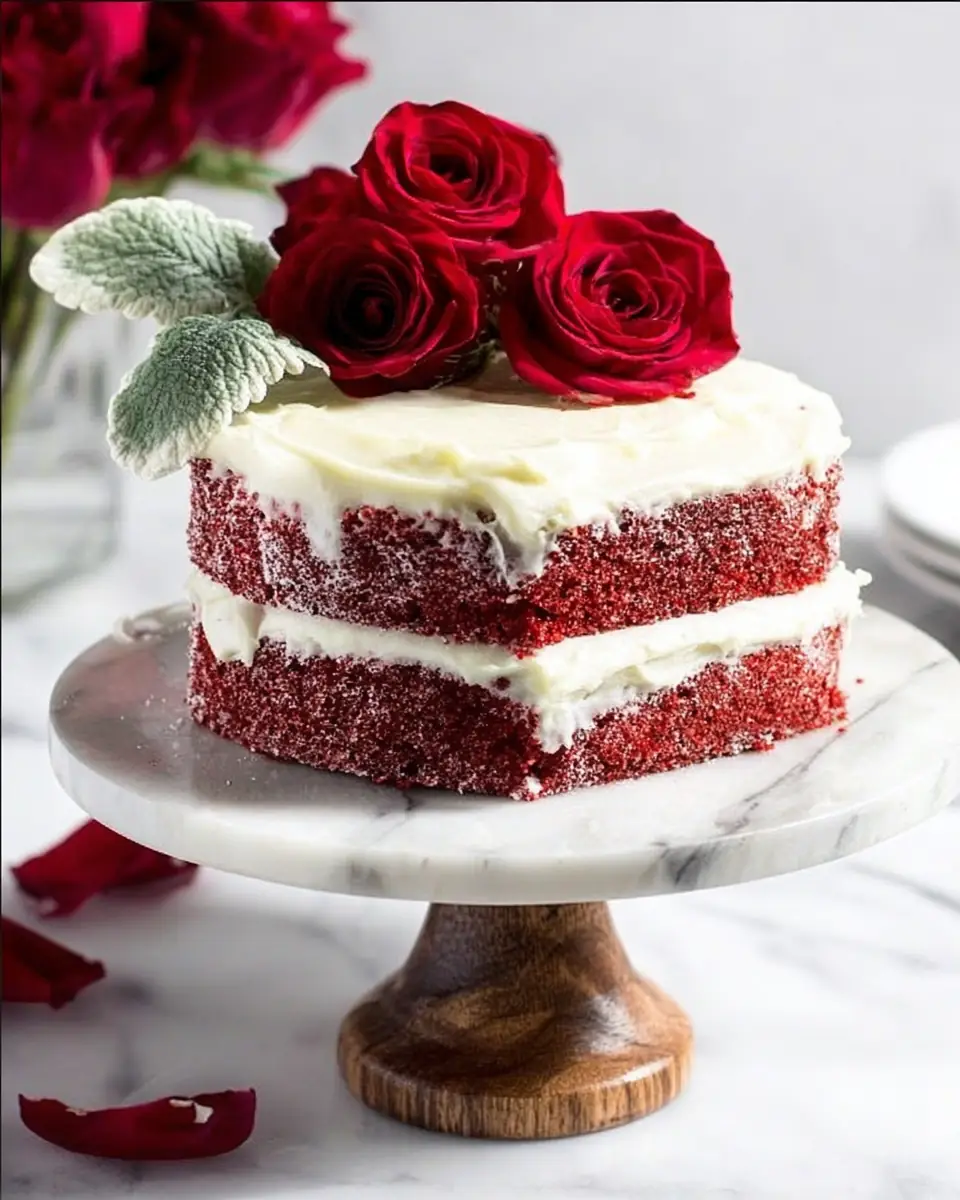
Creating a homemade red velvet cake is a rewarding culinary adventure. This delectable dessert, known for its vibrant color and rich flavor, is a favorite for special occasions and everyday indulgences. In this post, we’ll guide you through a simple yet delightful homemade red velvet cake recipe that will impress your friends and family with its moist texture and creamy frosting.
Ingredients List
To prepare this delicious homemade red velvet cake recipe, you’ll need the following ingredients:
Cake:
- 1 cup canola oil
- 1 cup granulated sugar
- 1/2 cup buttermilk
- 4 large egg whites*
- 4 teaspoons red food coloring
- 1 teaspoon vanilla extract
- 1/2 teaspoon white vinegar
- 1 1/3 cup + 1/4 cup all-purpose flour
- 8 teaspoons unsweetened cocoa powder
- 1/2 teaspoon baking soda
- 1/2 teaspoon salt
Cream Cheese Frosting:
- 8 ounces cream cheese, softened
- 8 tablespoons (1 stick) unsalted butter, softened
- 4 cups powdered sugar
- 1/2 teaspoon vanilla extract
- 2 tablespoons heavy cream
Timing
- Preparation Time: 20 minutes
- Cooking Time: 25-35 minutes
- Cooling Time: 1 hour
- Total Time: Approximately 2 hours
Step-by-Step Instructions
Step 1: Prepare the Cake Pans
Line two 6-inch round cake pans with parchment paper, then lightly spray the sides with cooking spray. Preheat your oven to 350°F (175°C).
Step 2: Mix Wet Ingredients
In a medium bowl, use an electric mixer to beat together the canola oil, sugar, buttermilk, egg whites, red food coloring, vanilla extract, and vinegar until well combined.
Step 3: Combine Dry Ingredients
In another bowl, whisk together the flour, cocoa powder, baking soda, and salt.
Step 4: Create the Batter
Slowly incorporate the dry ingredients into the wet mixture while mixing continuously until a smooth batter forms.
Step 5: Bake the Cakes
Divide the batter evenly between the prepared cake pans. Bake for 25-35 minutes, or until a cake tester inserted into the center comes out clean. Let the cakes cool completely on a wire rack.
Step 6: Prepare the Cream Cheese Frosting
Once the cakes are cool, beat the softened cream cheese and butter together in a bowl for about 45 seconds. Gradually add the powdered sugar, one cup at a time, mixing well. Add the vanilla extract and heavy cream, beating until the frosting is fluffy and spreadable.
Step 7: Assemble the Cake
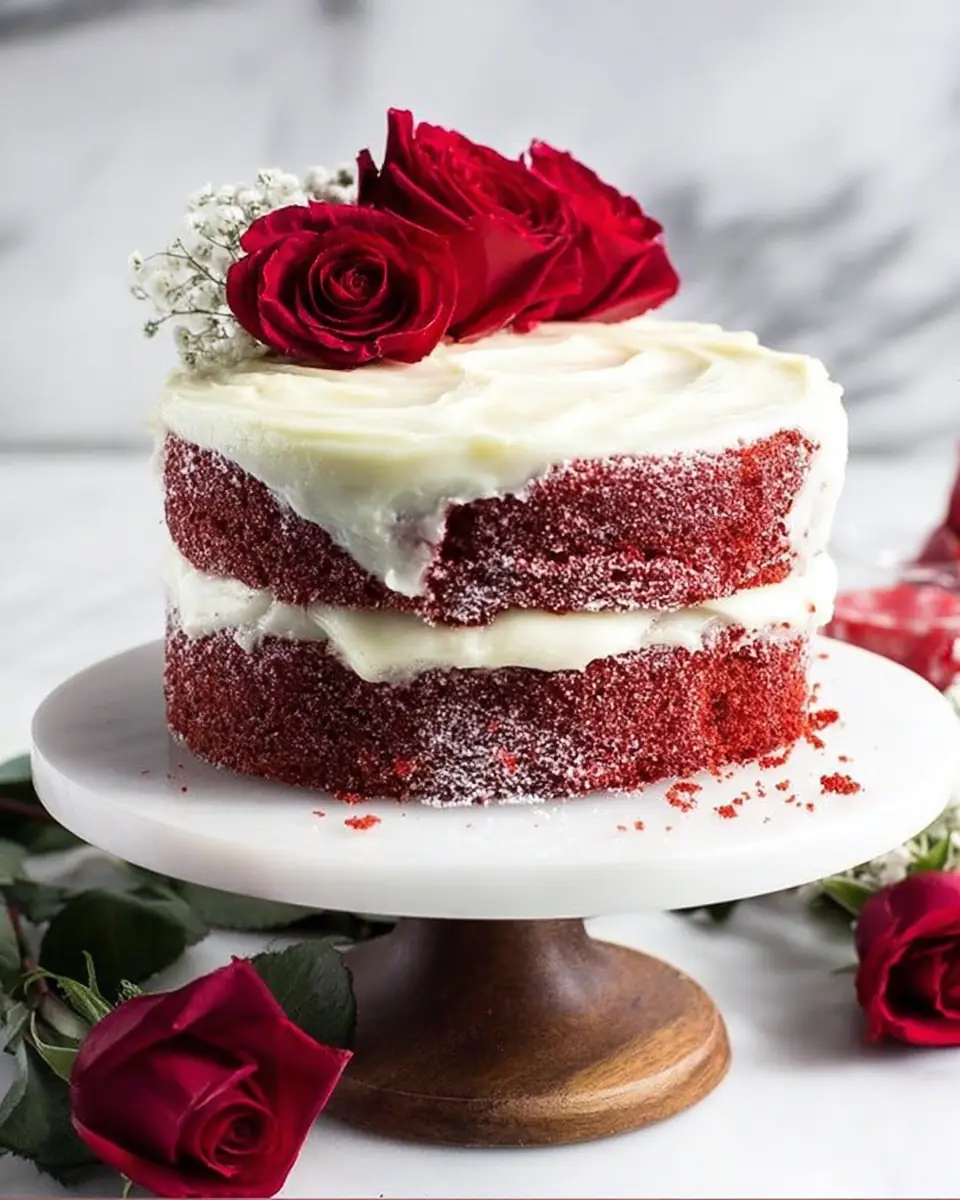
Place one cake layer on a serving dish and spread a generous cup of cream cheese frosting on top. Add the second cake layer and cover the entire cake with the remaining frosting, smoothing it with a spatula.
Nutritional Information
While this homemade red velvet cake recipe is undoubtedly a treat, it’s helpful to know its nutritional breakdown:
- Calories: Approximately 600 per serving
- Total Fat: 30g
- Saturated Fat: 12g
- Cholesterol: 70mg
- Sodium: 250mg
- Total Carbohydrates: 78g
- Sugars: 60g
- Protein: 6g
Healthier Alternatives for the Recipe
If you’re looking to make a healthier version of this homemade red velvet cake recipe, consider these substitutions:
- Sugar: Use coconut sugar or a sugar substitute.
- Flour: Opt for whole wheat flour or almond flour.
- Oil: Replace canola oil with unsweetened applesauce or Greek yogurt.
Serving Suggestions
This homemade red velvet cake pairs beautifully with a scoop of vanilla ice cream or a dollop of whipped cream. For a festive touch, garnish with fresh berries or a sprinkle of cocoa powder.
Common Mistakes to Avoid
- Overmixing the Batter: Overmixing can lead to a dense cake. Mix just until the ingredients are combined.
- Not Using Room Temperature Ingredients: Ensure your cream cheese and butter are softened for a smooth frosting.
- Skipping the Parchment Paper: This step prevents the cake from sticking to the pans.
Storing Tips for the Recipe
To keep your homemade red velvet cake fresh, store it in an airtight container in the refrigerator for up to five days. You can also freeze the unfrosted cake layers for up to two months.
Conclusion
Crafting this homemade red velvet cake recipe is a delightful experience that results in a stunning and delicious dessert. Whether you’re a seasoned baker or a beginner, this recipe offers a rewarding opportunity to create something special.
FAQs
Q: Can I use natural food coloring for this recipe?
A: Yes, natural food coloring can be used, though the color may be less vibrant.
Q: Can I make this cake gluten-free?
A: Certainly! Substitute the all-purpose flour with a gluten-free flour blend.
Q: How can I prevent my cake from being too dry?
A: Ensure not to overbake the cakes and measure your ingredients accurately.
For more delightful recipes, check out our related posts on Adrian Recipes. Happy baking!
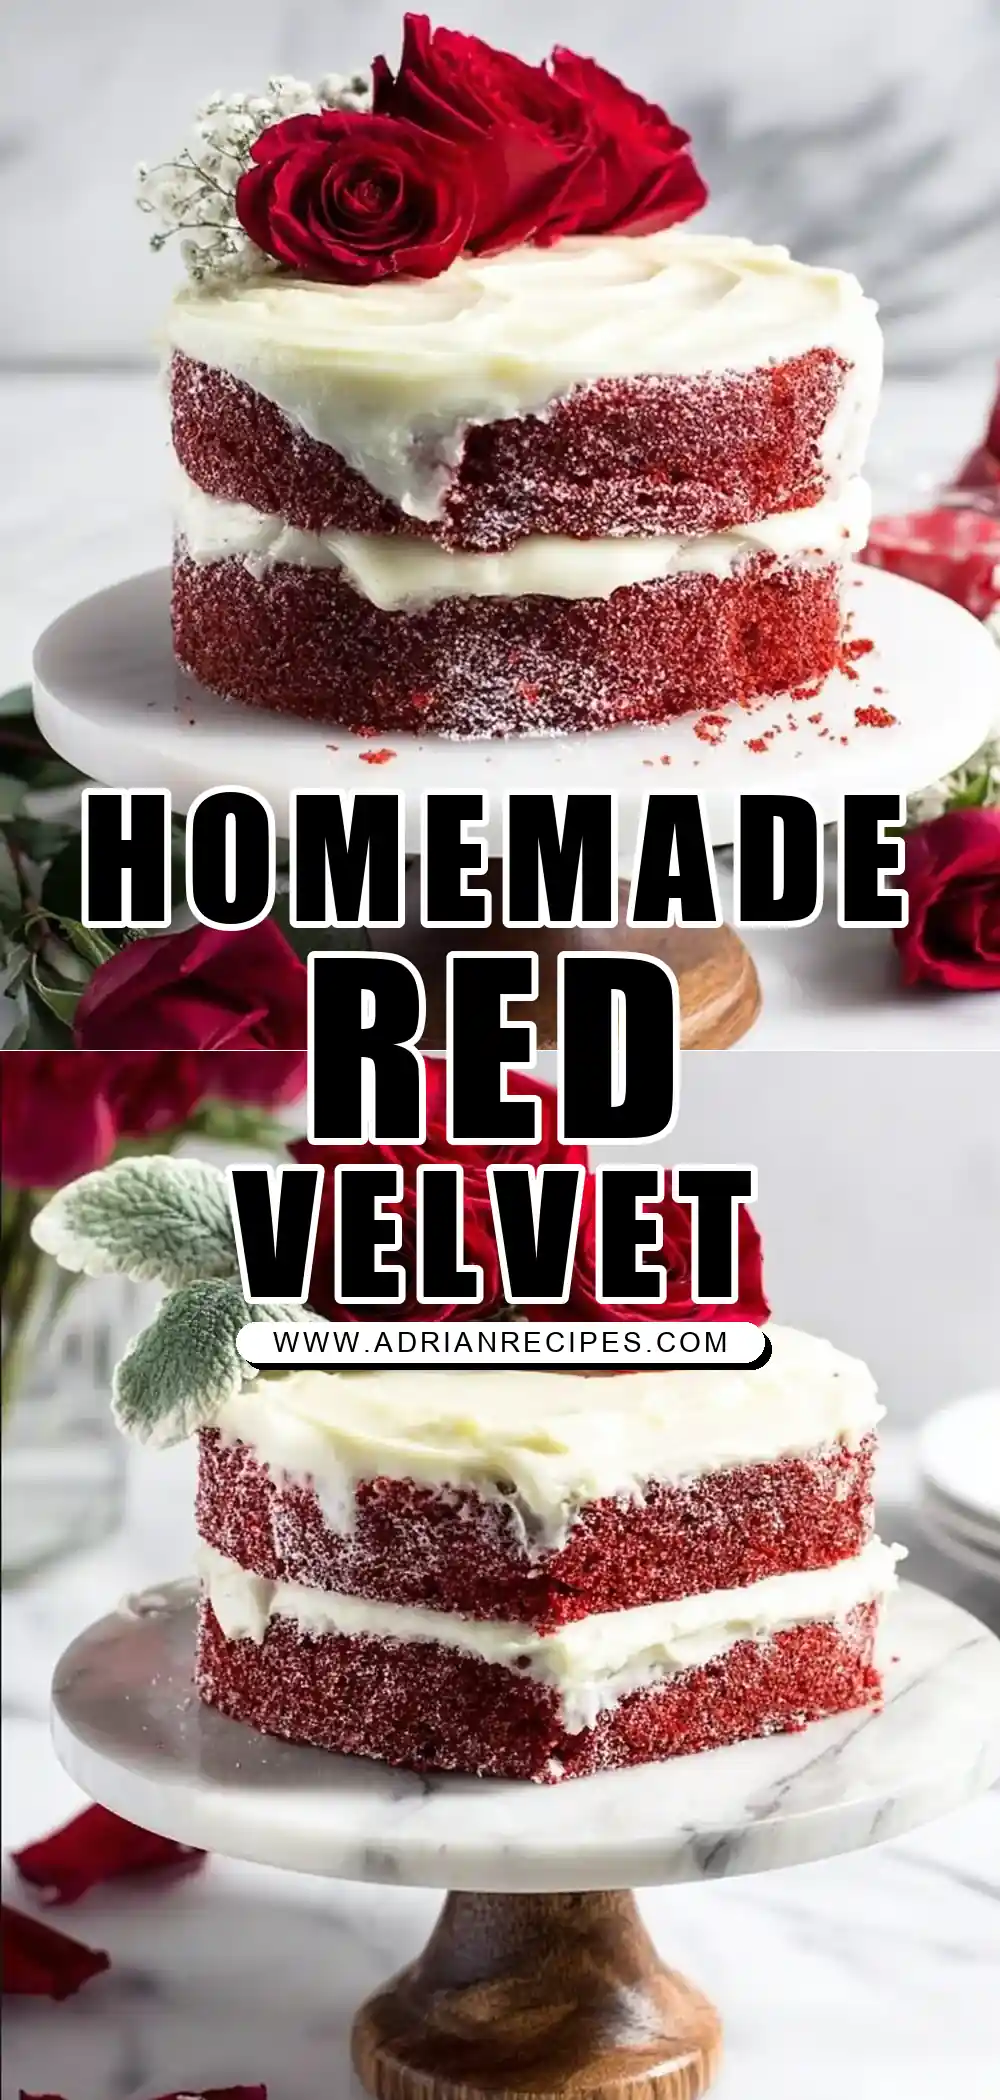
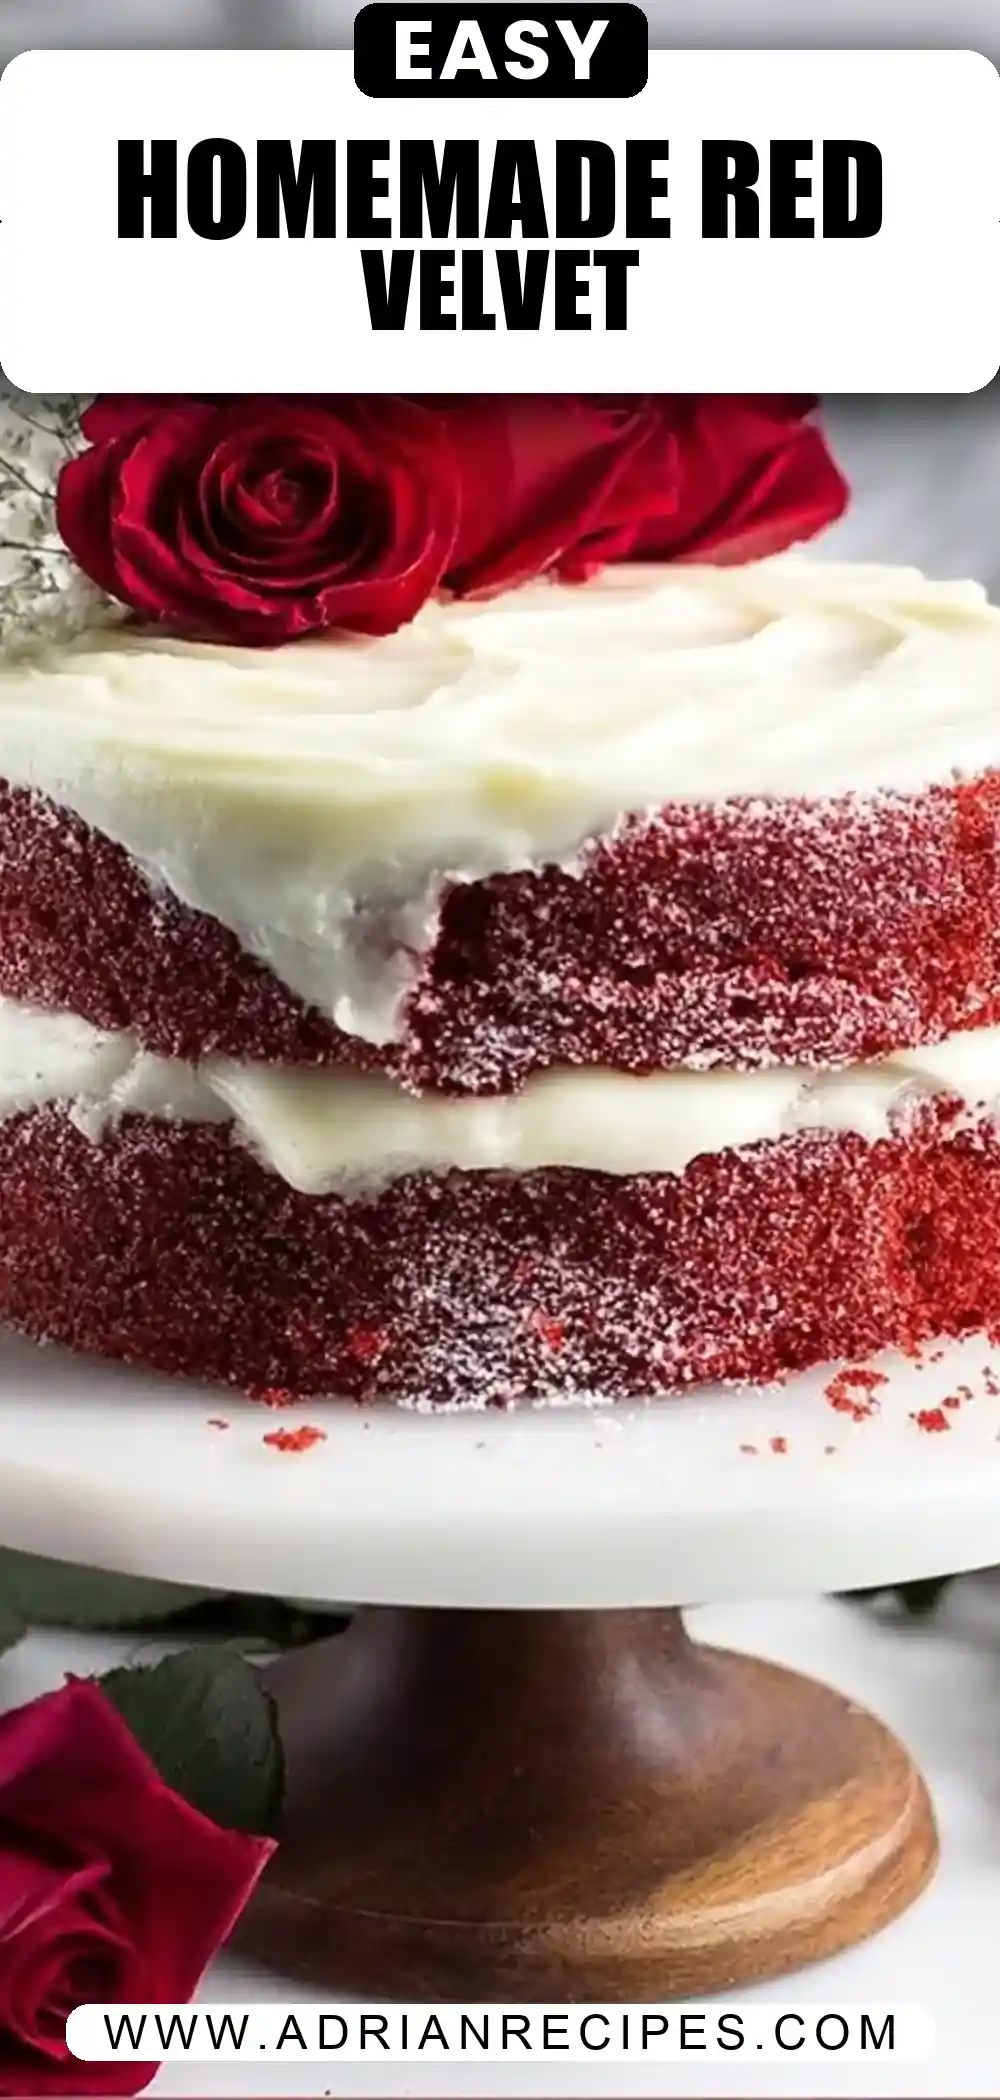
Homemade Red Velvet Cake
Ingredients
Equipment
Method
- Line two 6″ round cake pans with parchment paper on the bottom, and then lightly spray the sides with cooking spray.
- Preheat the oven to 350°F.
- In a medium bowl, beat together the canola oil, sugar, buttermilk, egg whites, red food coloring, vanilla, and vinegar using an electric mixer.
- In another bowl, whisk together the flour, baking soda, salt, and cocoa powder.
- Slowly add the dry ingredients to the wet ingredients, while mixing.
- Divide the batter between the two cake pans, and bake for 25-35 minutes, until a cake tester comes out clean. Let cool completely on a wire rack.
- When cool, tip the cakes out of the pan, and remove the parchment liner on the bottom.
- Once the cake is cool, make the frosting. Make sure everything is room temperature (except the cream). Beat the cream cheese and butter for about 45 seconds to break it up.
- Begin adding the powdered sugar one cup at a time while beating.
- Add the vanilla extract and heavy cream, and beat again. Add extra heavy cream if needed to form a fluffy, spreadable frosting.
- Place one cake layer on a serving dish. Add a heaping one cup of cream cheese frosting on top, and spread it almost to the edge of the cake.
- Add the other cake layer on top. Add the remaining frosting to the top of the cake, and using an off-set spatula, move the frosting down the sides of the cake.
- Use a cake scraper or bench scraper to smooth the sides of the cake.
- Serve immediately, or store in the fridge until serving.
