
In this article, we will explore a delicious and easy-to-prepare recipe.
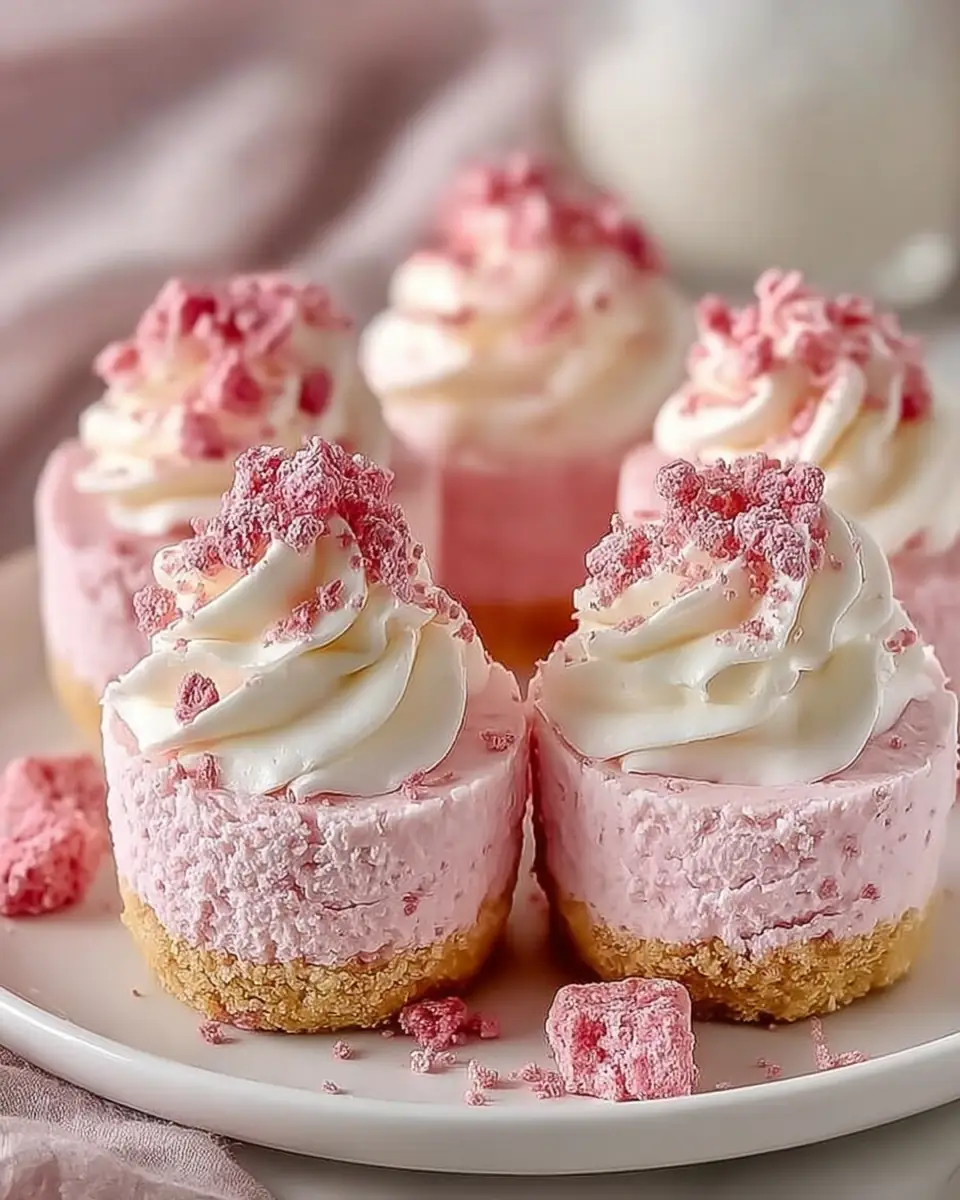
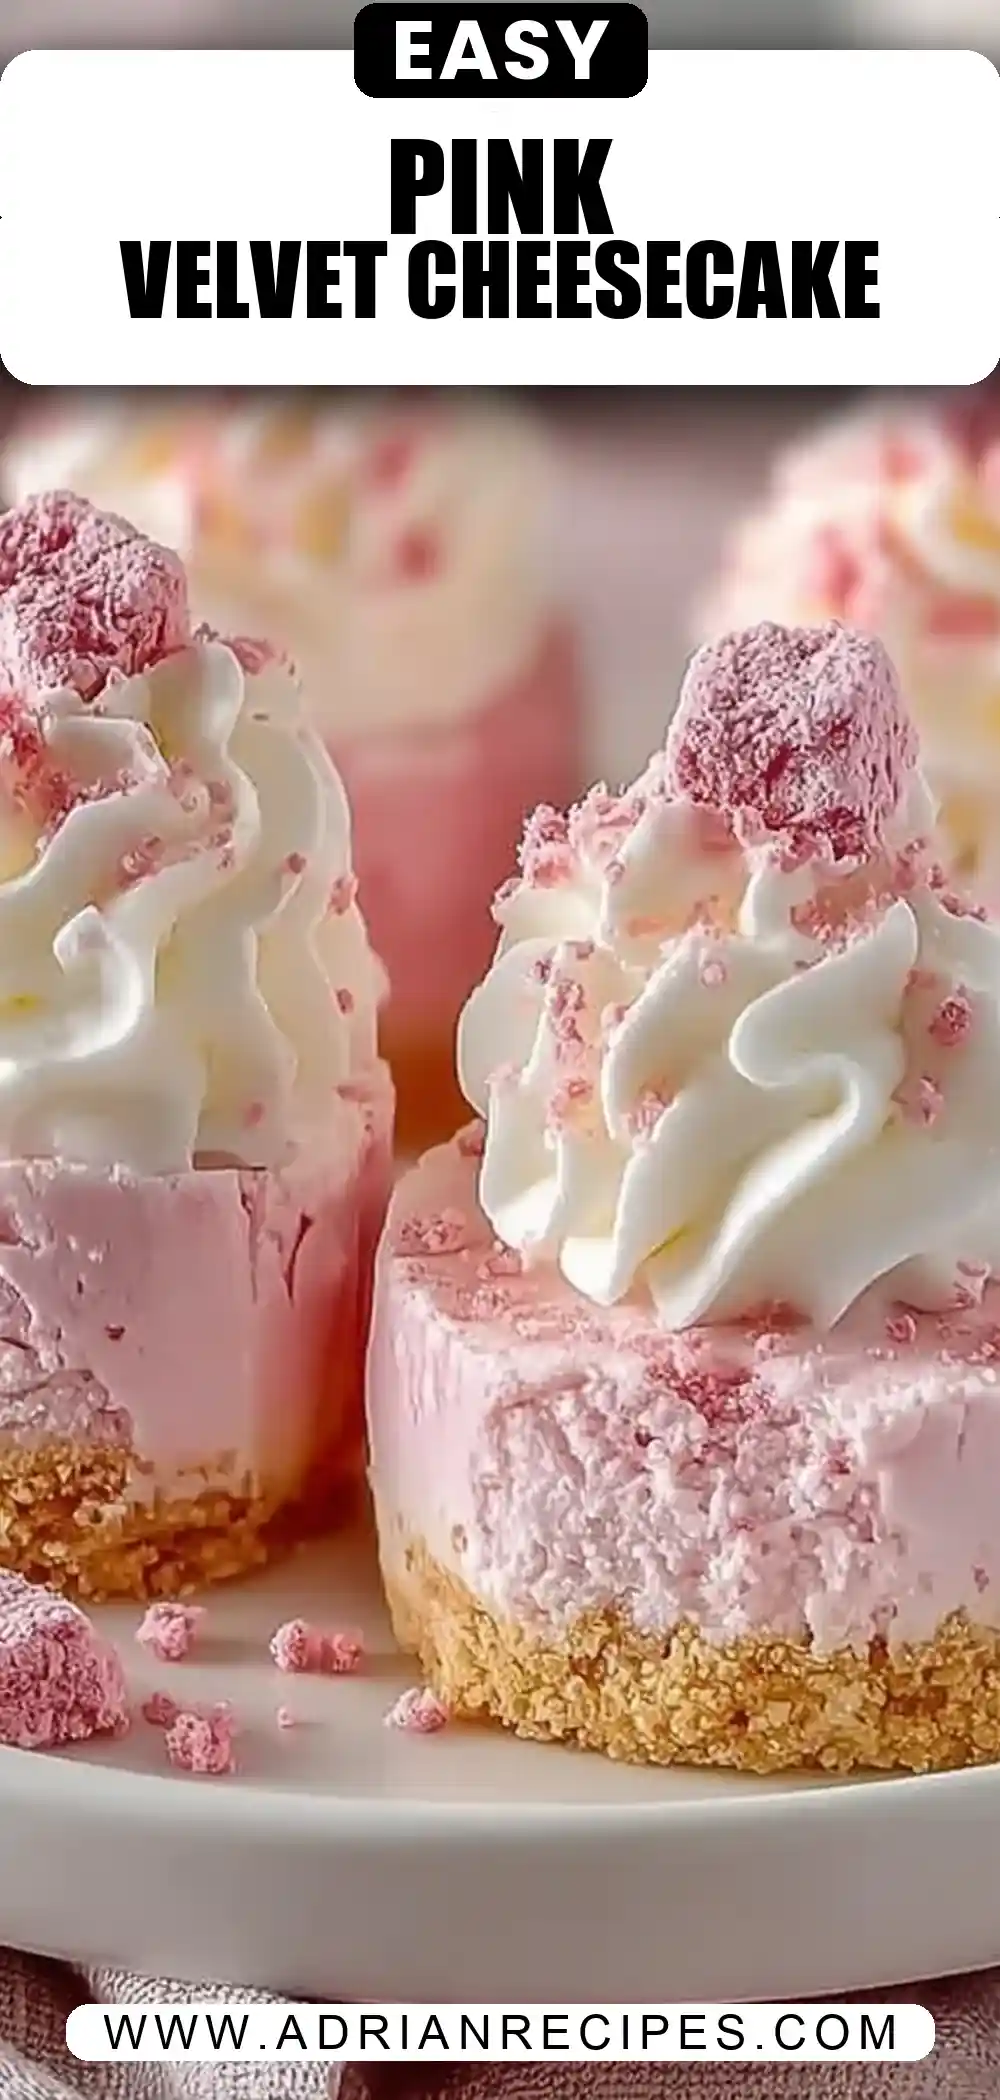
No Bake Pink Velvet Cheesecake Bites: Easy, Creamy, and Perfectly Pretty
Welcome to Adrian Recipes, where we transform simple ingredients into stunning delights! Today’s feature, No Bake Pink Velvet Cheesecake Bites: Easy, Creamy, and Perfectly Pretty, is a delightful treat that combines creamy textures with a charming pink hue, perfect for any occasion. Whether you’re planning a festive gathering or a cozy night in, these cheesecake bites will surely impress.
Ingredients List
To create these beautiful No Bake Pink Velvet Cheesecake Bites, you’ll need:
- 1 ½ cups graham cracker crumbs or vanilla wafer crumbs
- 5 tbsp unsalted butter, melted
- Pinch of salt
- 8 oz cream cheese, softened
- ½ cup powdered sugar
- 1 tsp vanilla extract
- Red food coloring or 1 tbsp beet juice concentrate
- 1 cup heavy whipping cream, whipped
- Mini chocolate chips or red velvet cake crumbs for garnish (optional)
- Fresh raspberries or white chocolate ganache (optional)
Timing
Preparation Time: 20 minutes
Chilling Time: 2 hours
Total Time: 2 hours 20 minutes
Step-by-Step Instructions
Step 1: Prepare the Crust
In a medium bowl, mix 1 ½ cups of graham cracker crumbs with 5 tbsp of melted butter and a pinch of salt until combined. Press the mixture into the bottom of a lined baking dish to form an even layer. Refrigerate while preparing the filling.
Step 2: Make the Filling
In a large mixing bowl, beat 8 oz of softened cream cheese with ½ cup of powdered sugar and 1 tsp of vanilla extract until smooth and creamy. Add a few drops of red food coloring or 1 tbsp of beet juice concentrate to achieve your desired shade of pink.
Step 3: Whip the Cream
In a separate bowl, whip 1 cup of heavy whipping cream until stiff peaks form. Gently fold the whipped cream into the cream cheese mixture, ensuring an even and airy blend.
Step 4: Assemble and Chill
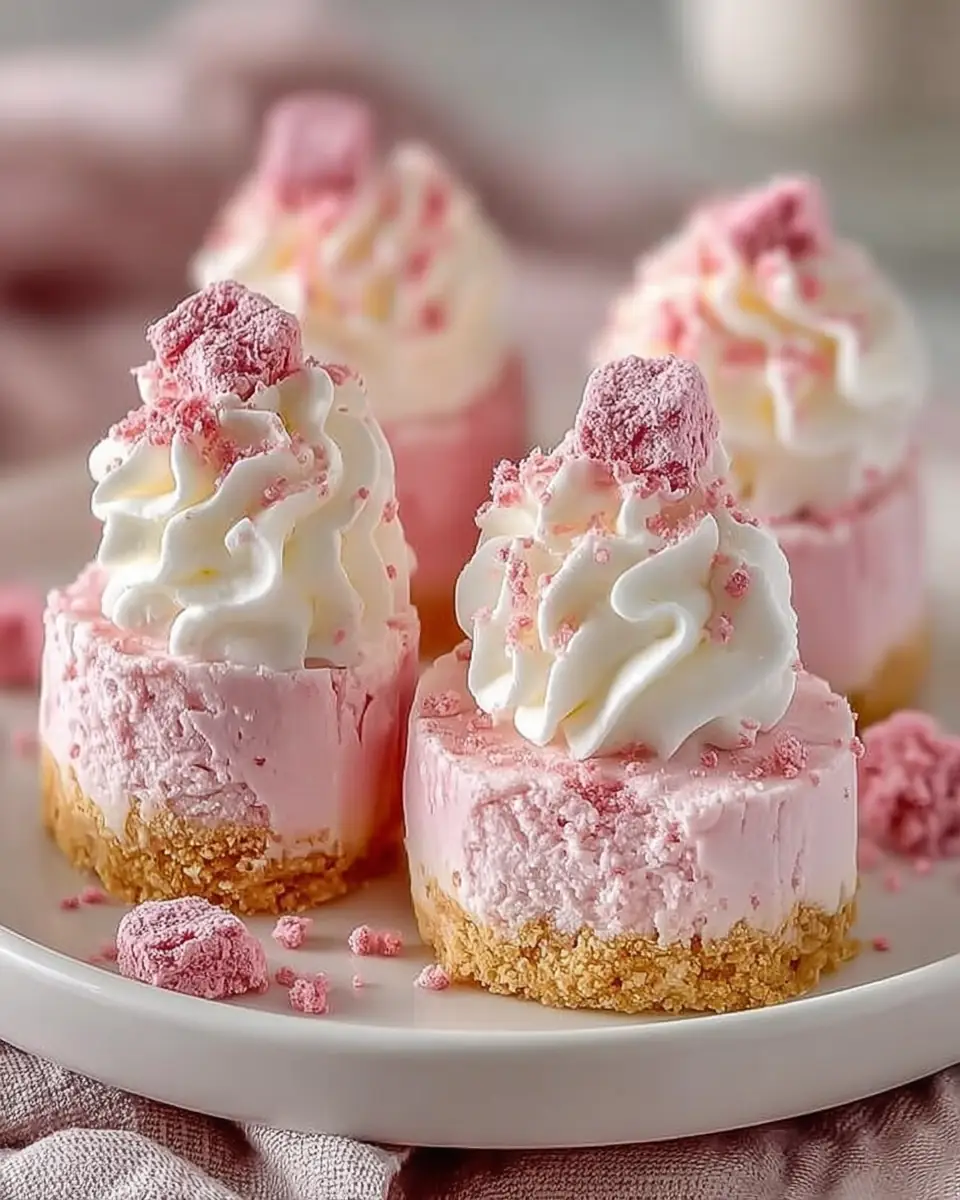
Spread the pink cheesecake mixture evenly over the prepared crust. Garnish with mini chocolate chips or red velvet cake crumbs if desired. Chill in the refrigerator for at least 2 hours or until set.
Nutritional Information
Each serving of these cheesecake bites contains approximately: – Calories: 150 – Fat: 11g – Carbohydrates: 12g – Protein: 2g – Sugar: 8g
Healthier Alternatives for the Recipe
For a lighter version, consider using reduced-fat cream cheese and substituting honey or agave syrup for powdered sugar. Using a nut-based crust like almonds or walnuts can also add a nutritious twist.
Serving Suggestions
Serve these cheesecake bites chilled, topped with fresh raspberries or drizzled with white chocolate ganache for an extra touch of elegance. Pair with a chilled glass of rosé for a delightful dessert experience.
Common Mistakes to Avoid
- Overmixing the Whipped Cream: This can deflate the airiness, resulting in a denser texture.
- Skipping the Chill Time: Ensure the bites are adequately set by chilling for at least 2 hours.
Storing Tips for the Recipe
Store the cheesecake bites in an airtight container in the refrigerator for up to 3 days. For longer storage, freeze individual pieces wrapped in plastic wrap and foil for up to a month.
Conclusion
These No Bake Pink Velvet Cheesecake Bites: Easy, Creamy, and Perfectly Pretty are not only visually appealing but also a breeze to make. Perfectly balancing flavor and simplicity, they are a must-try for anyone looking to impress without spending hours in the kitchen.
FAQs
Can I use a different food coloring?
Yes, natural food colorings such as beet juice or raspberry puree work beautifully.
What if I don’t have a blender?
A hand mixer or whisk can be used to blend the cream cheese and whip the cream, although it may require more effort.
How can I make it vegan?
Substitute cream cheese and heavy cream with vegan alternatives, and use a plant-based butter substitute.
For more delightful recipes and cooking inspiration, explore our other posts on Adrian Recipes. Happy cooking!

No Bake Pink Velvet Cheesecake Bites: Easy, Creamy, and Perfectly Pretty
Ingredients
Equipment
Method
- Combine graham cracker crumbs, melted butter, and salt in a mixing bowl. Press the mixture into the bottom of a lined baking dish. Chill in the refrigerator.
- In another bowl, beat the cream cheese until smooth. Add powdered sugar and vanilla extract, and mix well.
- Add red food coloring or beet juice concentrate until the desired pink color is achieved. Gently fold in the whipped cream.
- Spread the cheesecake mixture over the chilled crust. Refrigerate for at least 2 hours until set.
- Cut into bites and garnish with mini chocolate chips, red velvet cake crumbs, fresh raspberries, or white chocolate ganache as desired.
